Concrete is a durable and versatile material that is commonly used in construction for various applications, such as driveways, sidewalks, patios, and foundations. However, over time, concrete can develop cracks due to various factors such as temperature changes, moisture, settling, and wear and tear. If left unattended, these cracks can worsen and potentially compromise the integrity of the concrete structure.
Step-by-Step Instructions for Repairing Cracks in Concrete Surfaces
Fortunately, patching cracks in concrete is a simple and cost-effective solution to restore the appearance and functionality of your concrete surfaces. In this article, we will provide you with step-by-step instructions for repairing cracks in concrete surfaces.
- Assess the Crack: The first step in patching cracks in concrete is to assess the size and depth of the crack. Small cracks that are less than 1/8 inch wide and shallow can be easily repaired using a basic concrete patching compound. However, larger cracks that are wider or deeper may require more extensive repairs and the use of specialized products.

- Prepare the Crack: Before applying any patching material, it is crucial to clean the crack thoroughly. Use a wire brush, chisel, or crack chaser to remove any loose debris, dirt, or vegetation from the crack. If there is any moisture present, allow the crack to dry completely before proceeding with the repair.
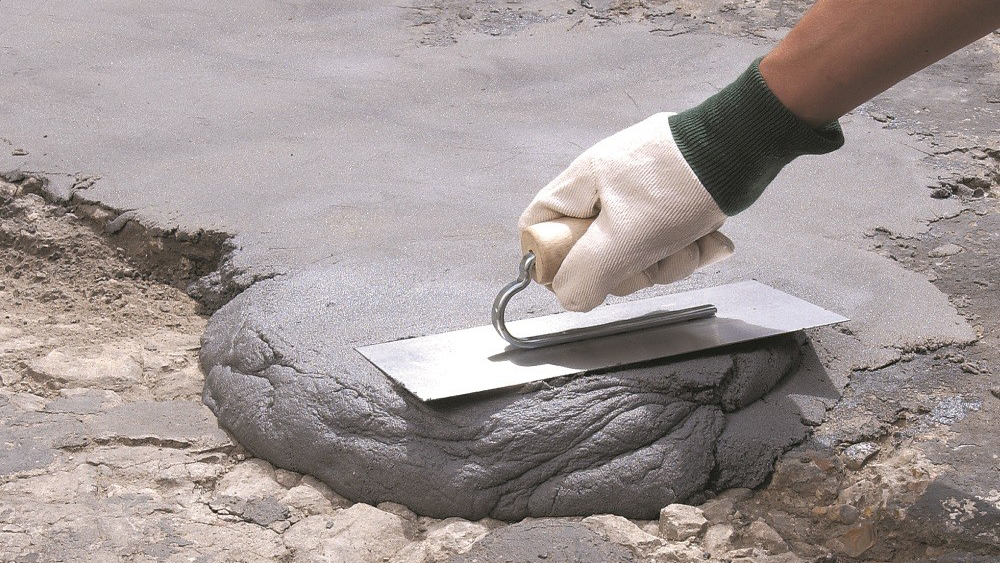
- Apply Patching Compound: For small cracks, you can use a concrete patching compound, which is readily available at most hardware stores. Follow the manufacturer’s instructions and mix the patching compound as per the recommended ratio. Using a trowel or putty knife, apply the patching compound to the crack, ensuring that it fills the crack completely and is level with the surrounding surface. Smooth out the surface with the trowel or putty knife, and allow the patching compound to dry as per the manufacturer’s instructions.
- Use Epoxy Resin for Larger Cracks: For larger cracks that are wider or deeper, epoxy resin can be used for more durable and long-lasting repairs. Epoxy resin is a two-part mixture that requires mixing before application. Follow the manufacturer’s instructions for mixing and applying the epoxy resin into the crack using a putty knife or trowel. Ensure that the epoxy resin fills the crack completely and is level with the surrounding surface. Smooth out the surface with the putty knife or trowel, and allow the epoxy resin to cure as per the manufacturer’s instructions.
- Finish and Seal: Once the patching compound or epoxy resin has dried and cured, you can finish the repaired area to match the surrounding surface. Use a sandpaper or grinding tool to smooth out any rough edges or uneven surfaces. Clean the repaired area thoroughly to remove any dust or debris. If desired, you can apply a concrete sealer to protect the repaired area from moisture and further damage.
- Preventative Measures: To minimize the occurrence of cracks in concrete surfaces, it is essential to take preventative measures. Avoid using de-icing salts or chemicals on concrete surfaces, as they can cause cracks due to freeze-thaw cycles. Ensure proper drainage around concrete structures to prevent water from pooling and causing cracks. Regular maintenance, such as sealing and filling small cracks, can also help prevent cracks from worsening over time.
Summary
Patching cracks in concrete is a straightforward process that can restore the appearance and functionality of your concrete surfaces. Assess the size and depth of the crack, clean the crack thoroughly, apply the appropriate patching material, and finish and seal the repaired area. Taking preventative measures and regular maintenance can also help minimize the occurrence of cracks in concrete surfaces.


